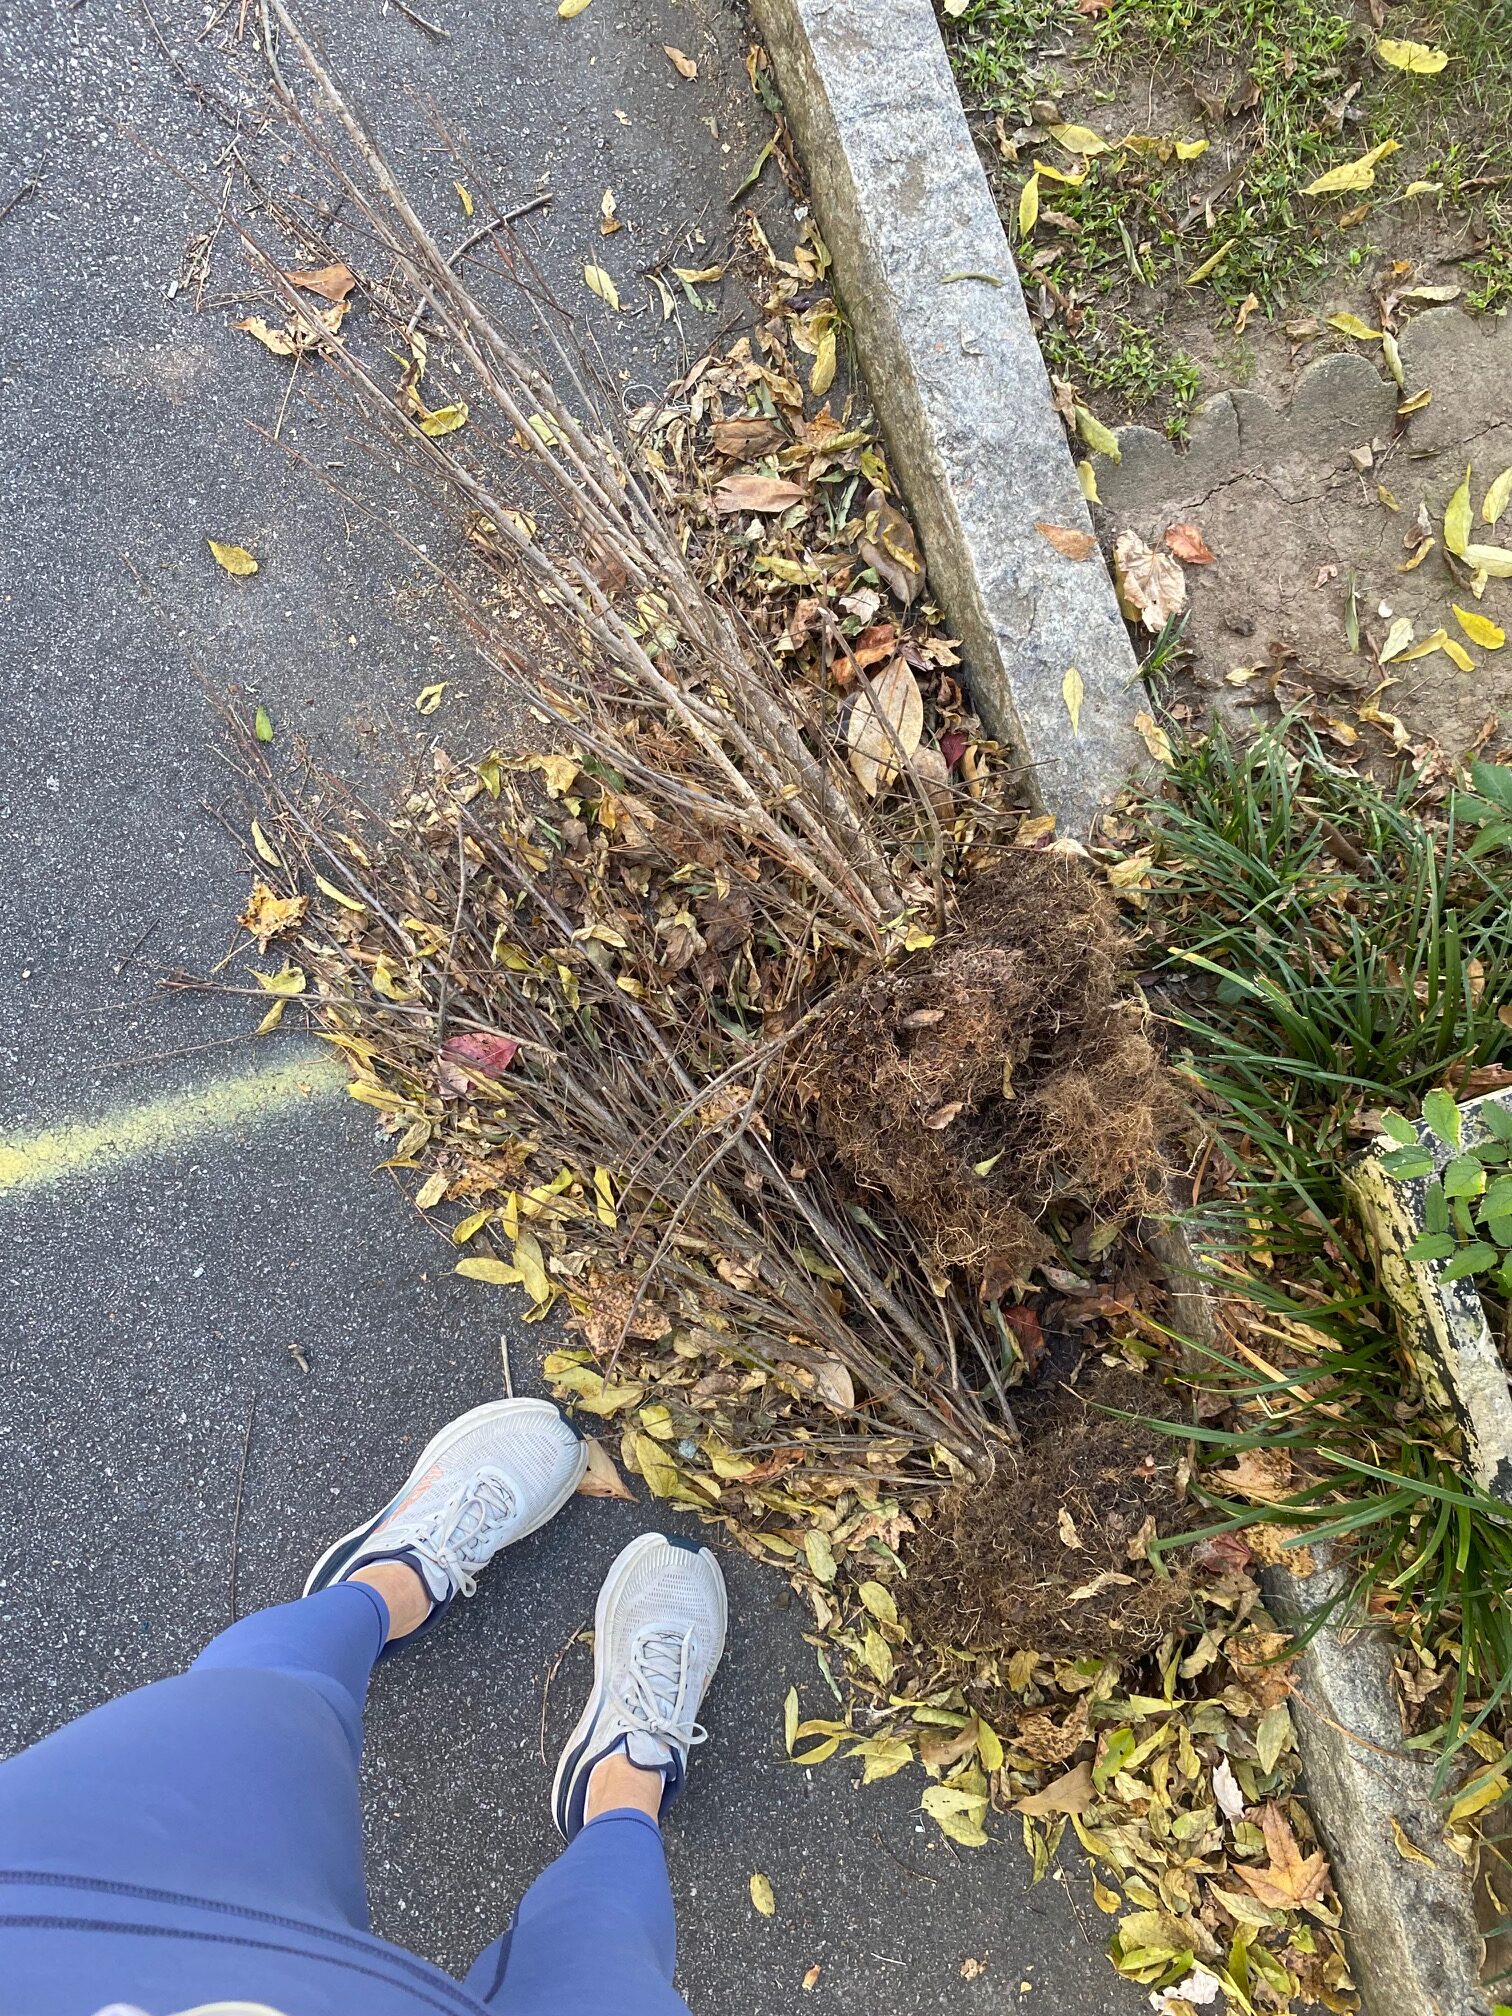
Sometimes I wonder if my kids think I am crazy. For example, the other day while on a walk we came across a pair of dead plants on the curb. So we stopped to inspect them. And then I immediately determined I had found a treasure. My kids just saw dead plants. But I saw free Halloween planters!

So how did I know these dead plants were treasures? First, I loved that there was a pair! Second, I loved how many sturdy sticks they had. Third- they were free! Fourth, I LOOOOVE holiday decor that I don’t have to store all year!
So I hauled the pair of dead plants home and set to work on making them the perfect Halloween planters to haunt the front porch.
HOW TO MAKE HALLOWEEN PLANTERS
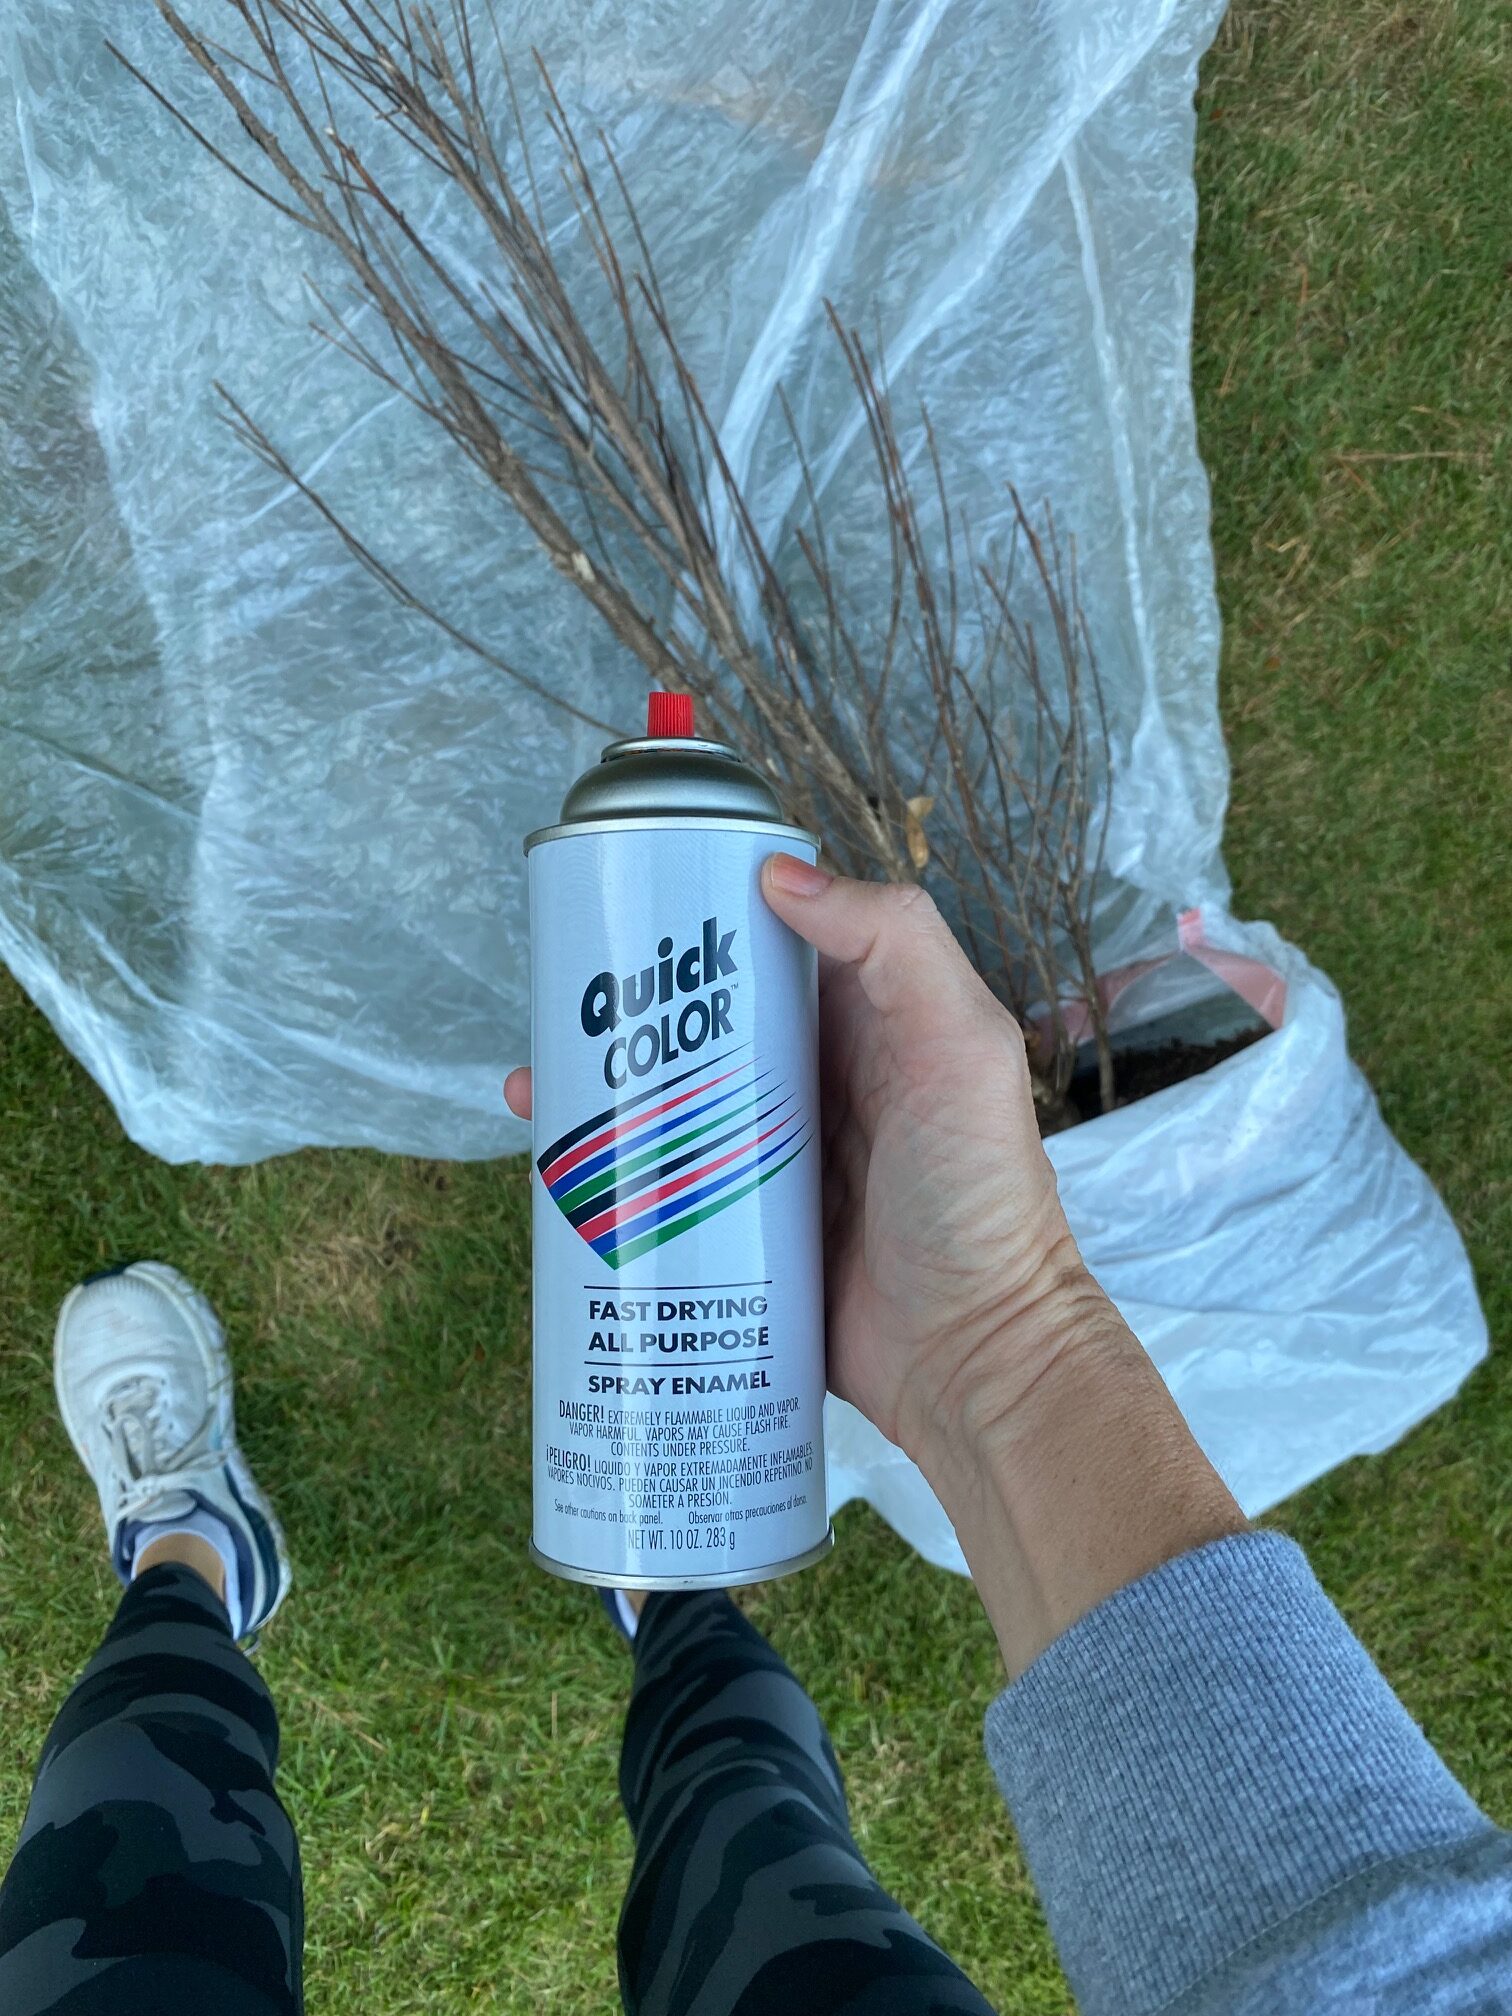
STEP 1: SPRAY PAINT BLACK
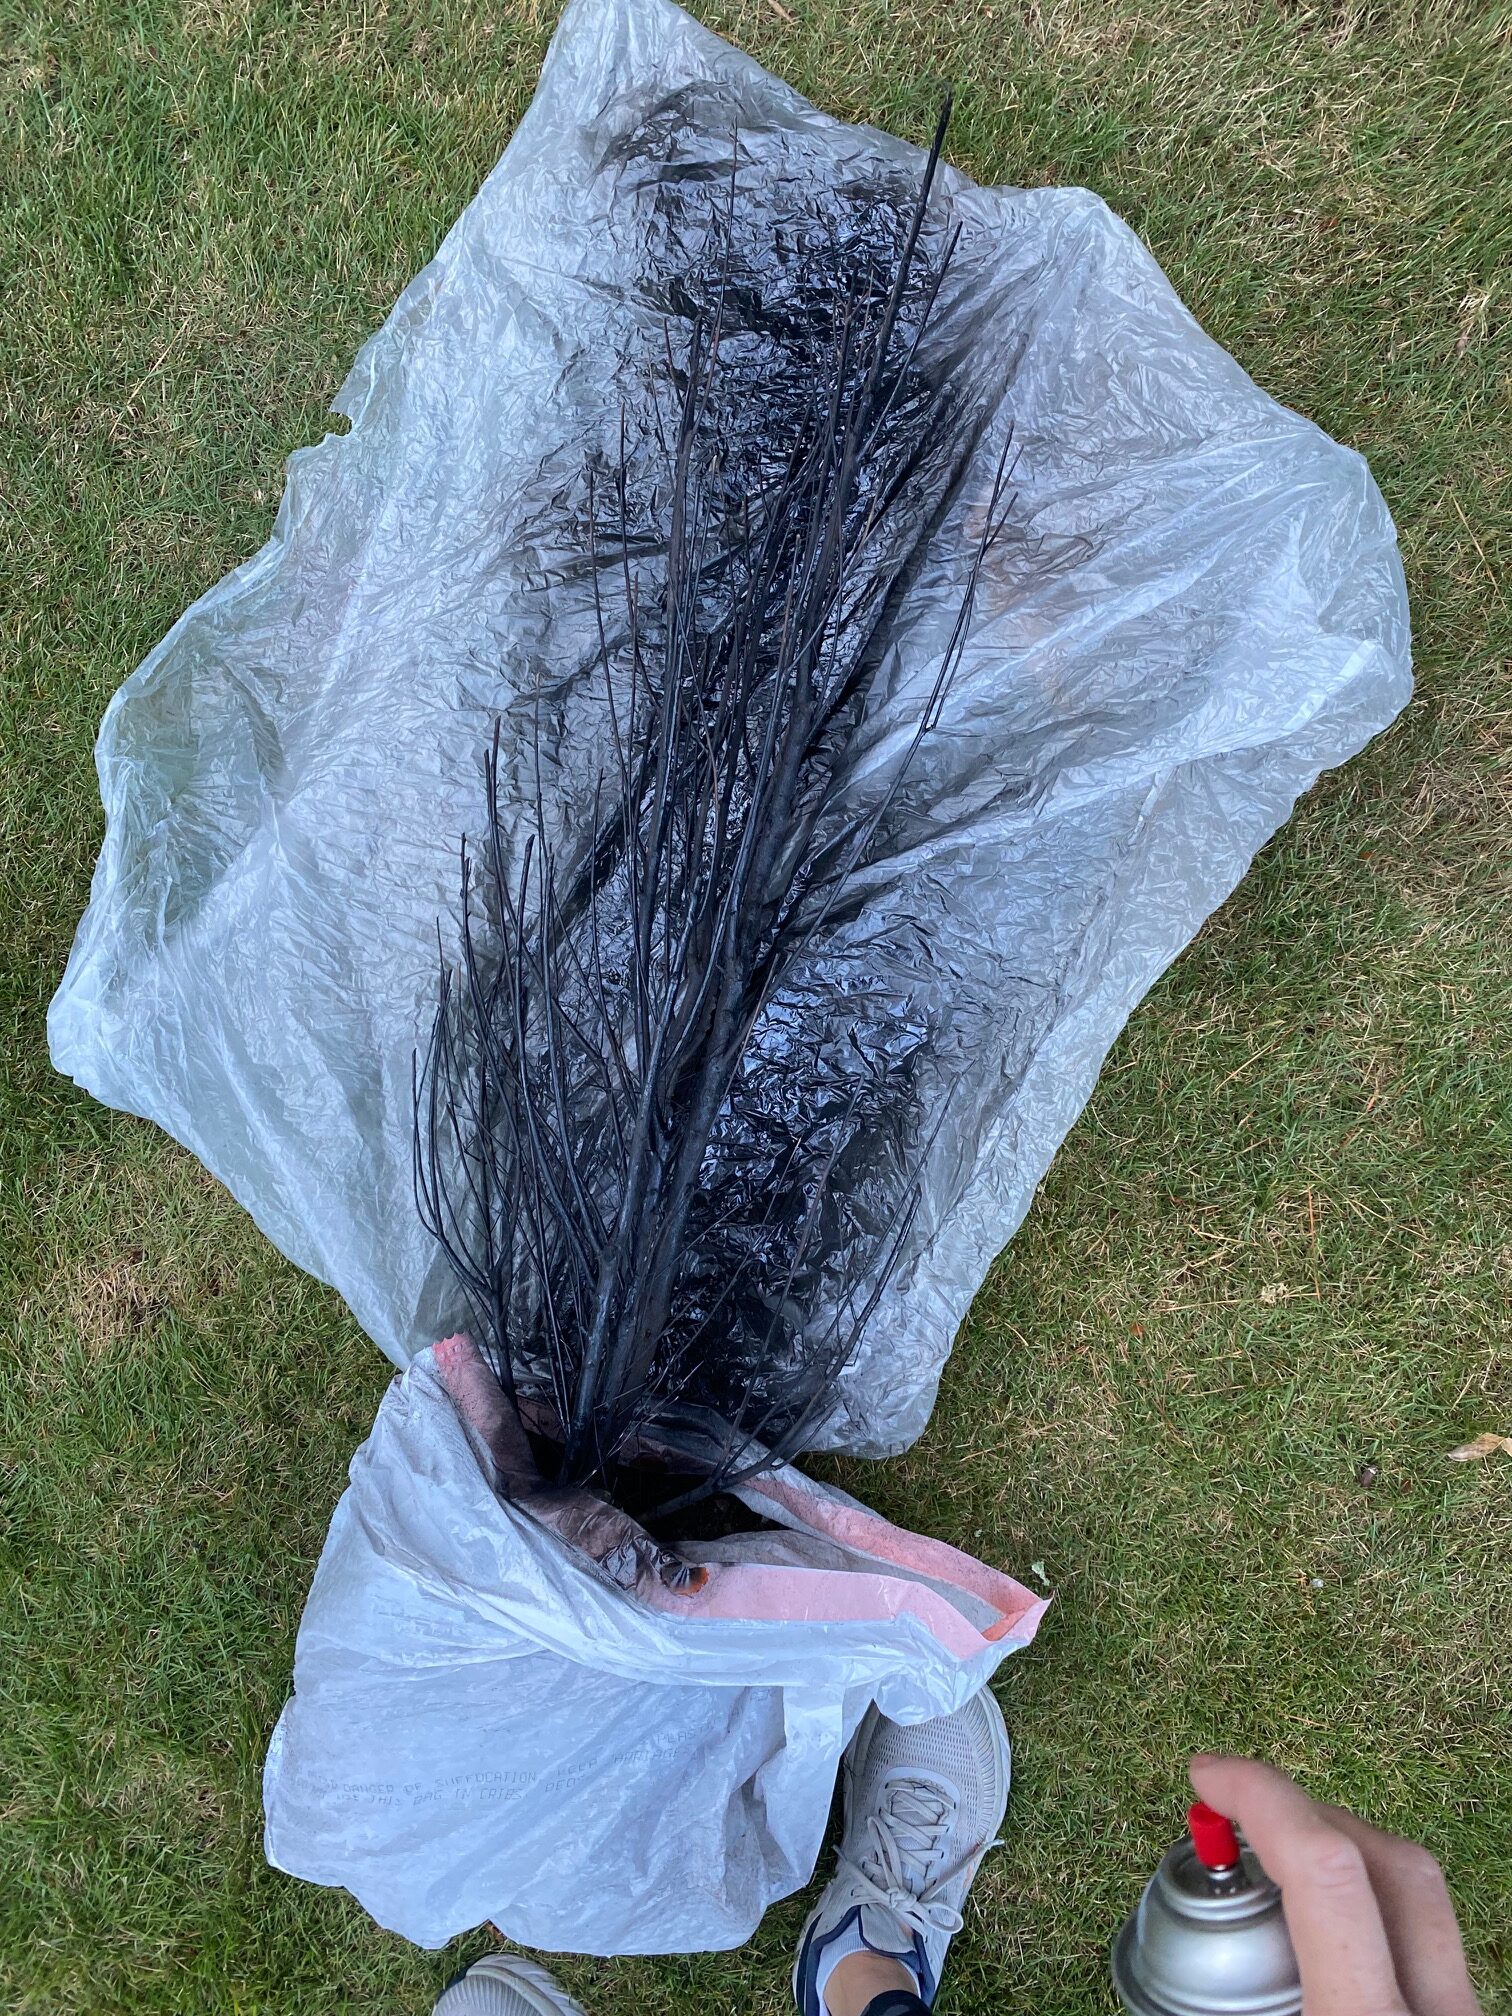
First thing I did was give them a coat of black spray paint. I just used the cheap stuff on these since I didn’t need a fancy paint job.
Oooooh, they look spooky already!
STEP TWO: FIND PLANTERS
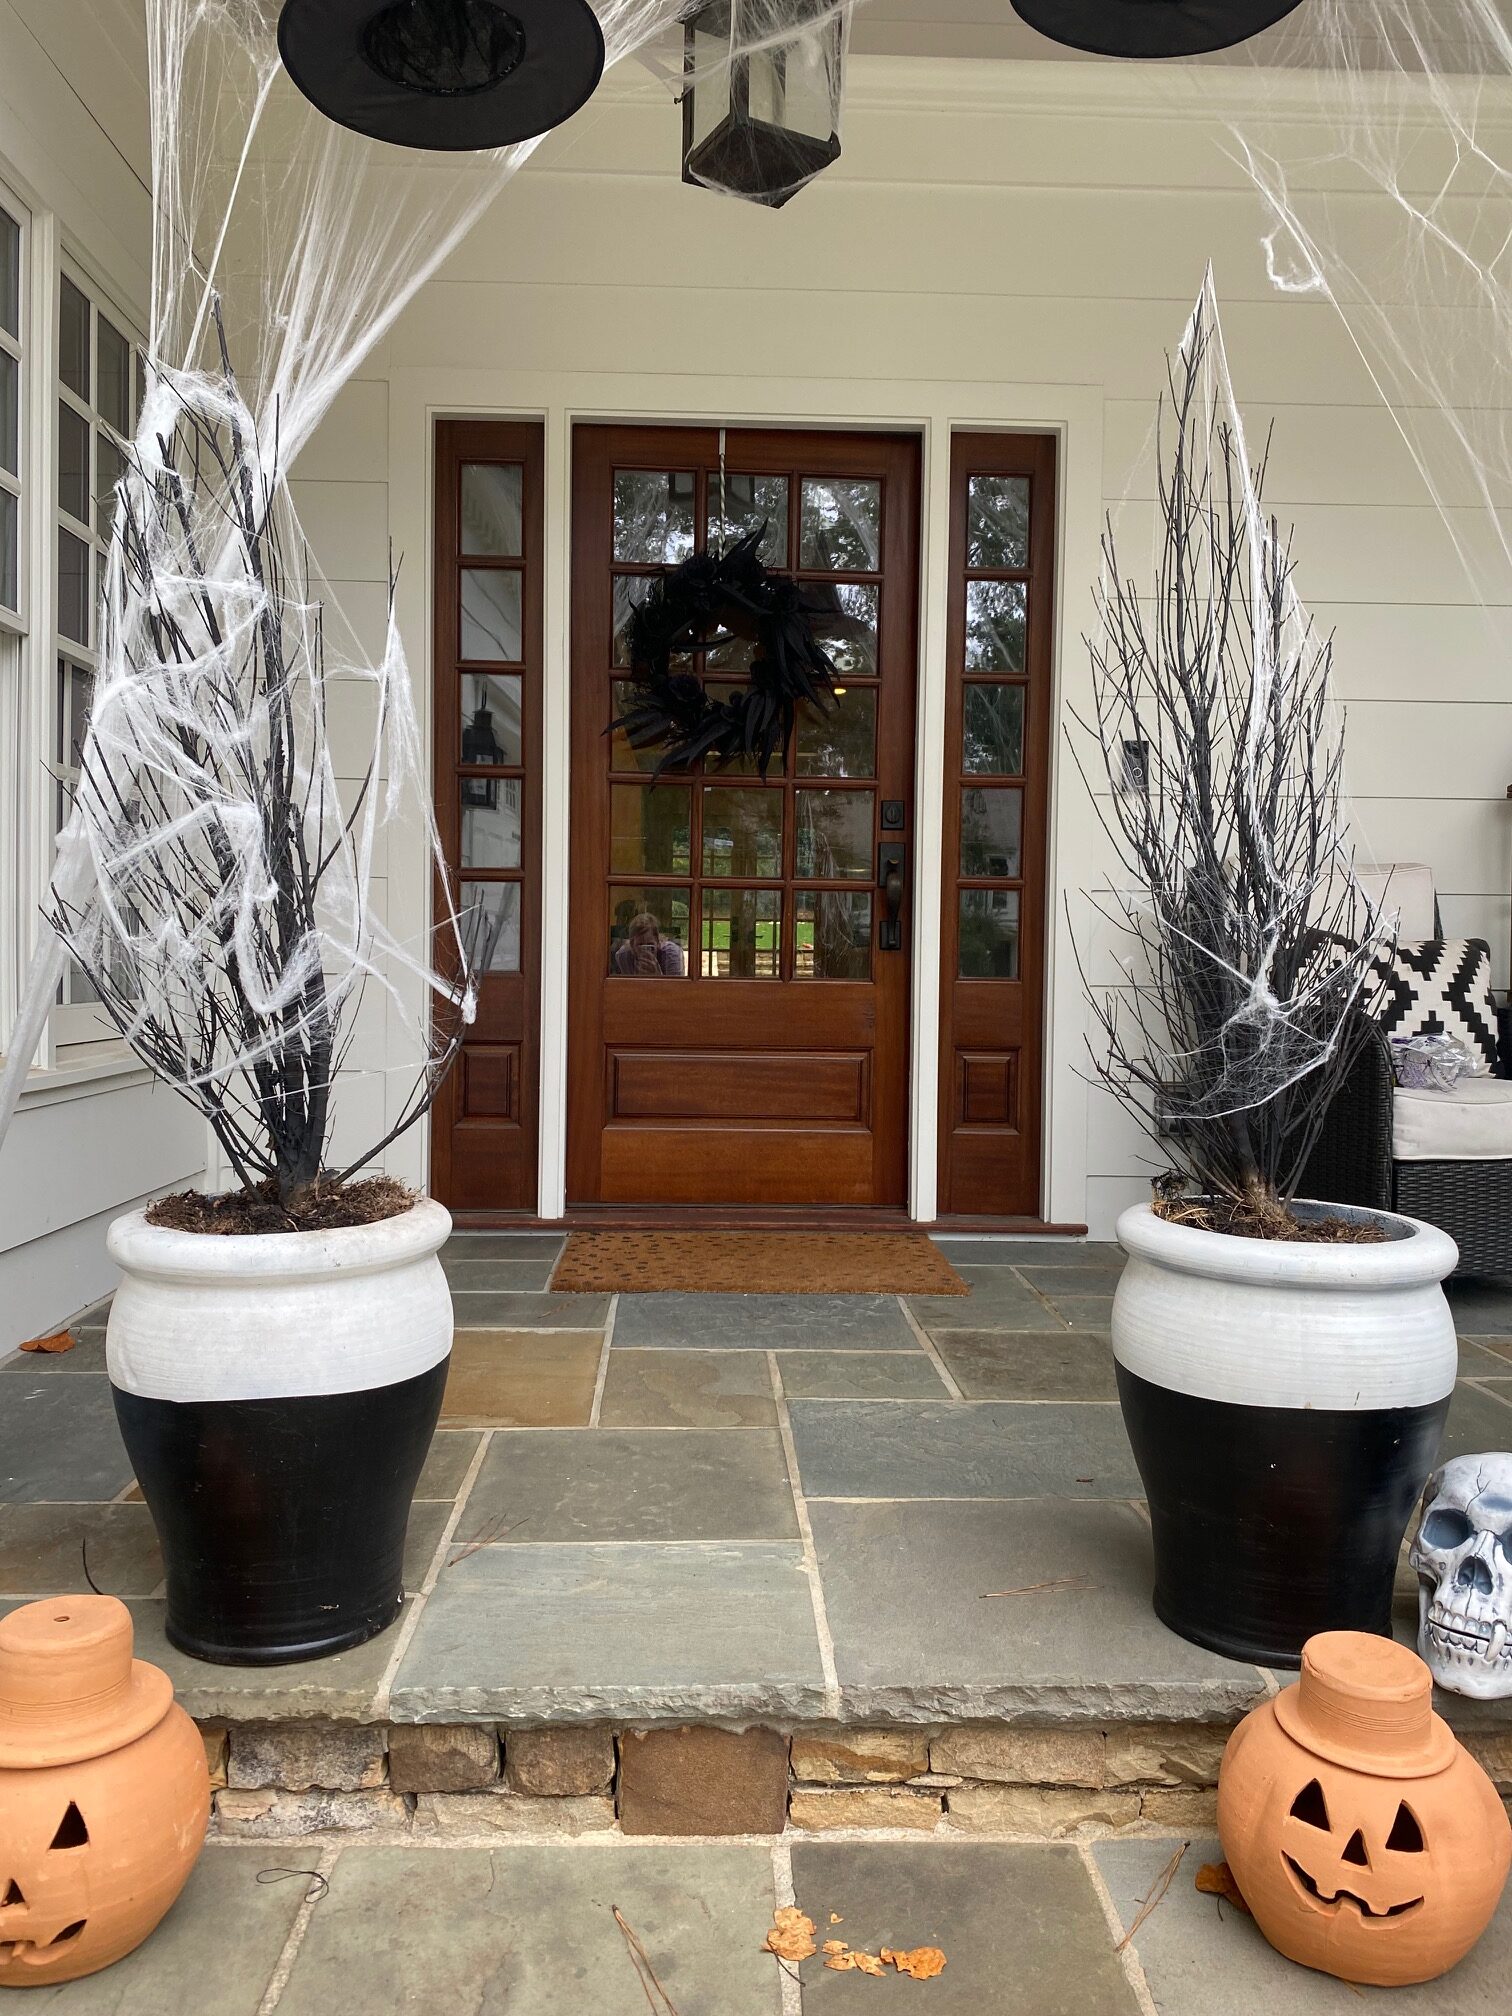
Once they were painted black, I dragged out a pair of black and white planters from storage. These planters have been various colors throughout the years and lucky me most recently I painted them black and white. The black and white were perfect to add the spooky vibe!
STEP THREE: ADD SPIDER WEBS
Add some spider web on the branches.
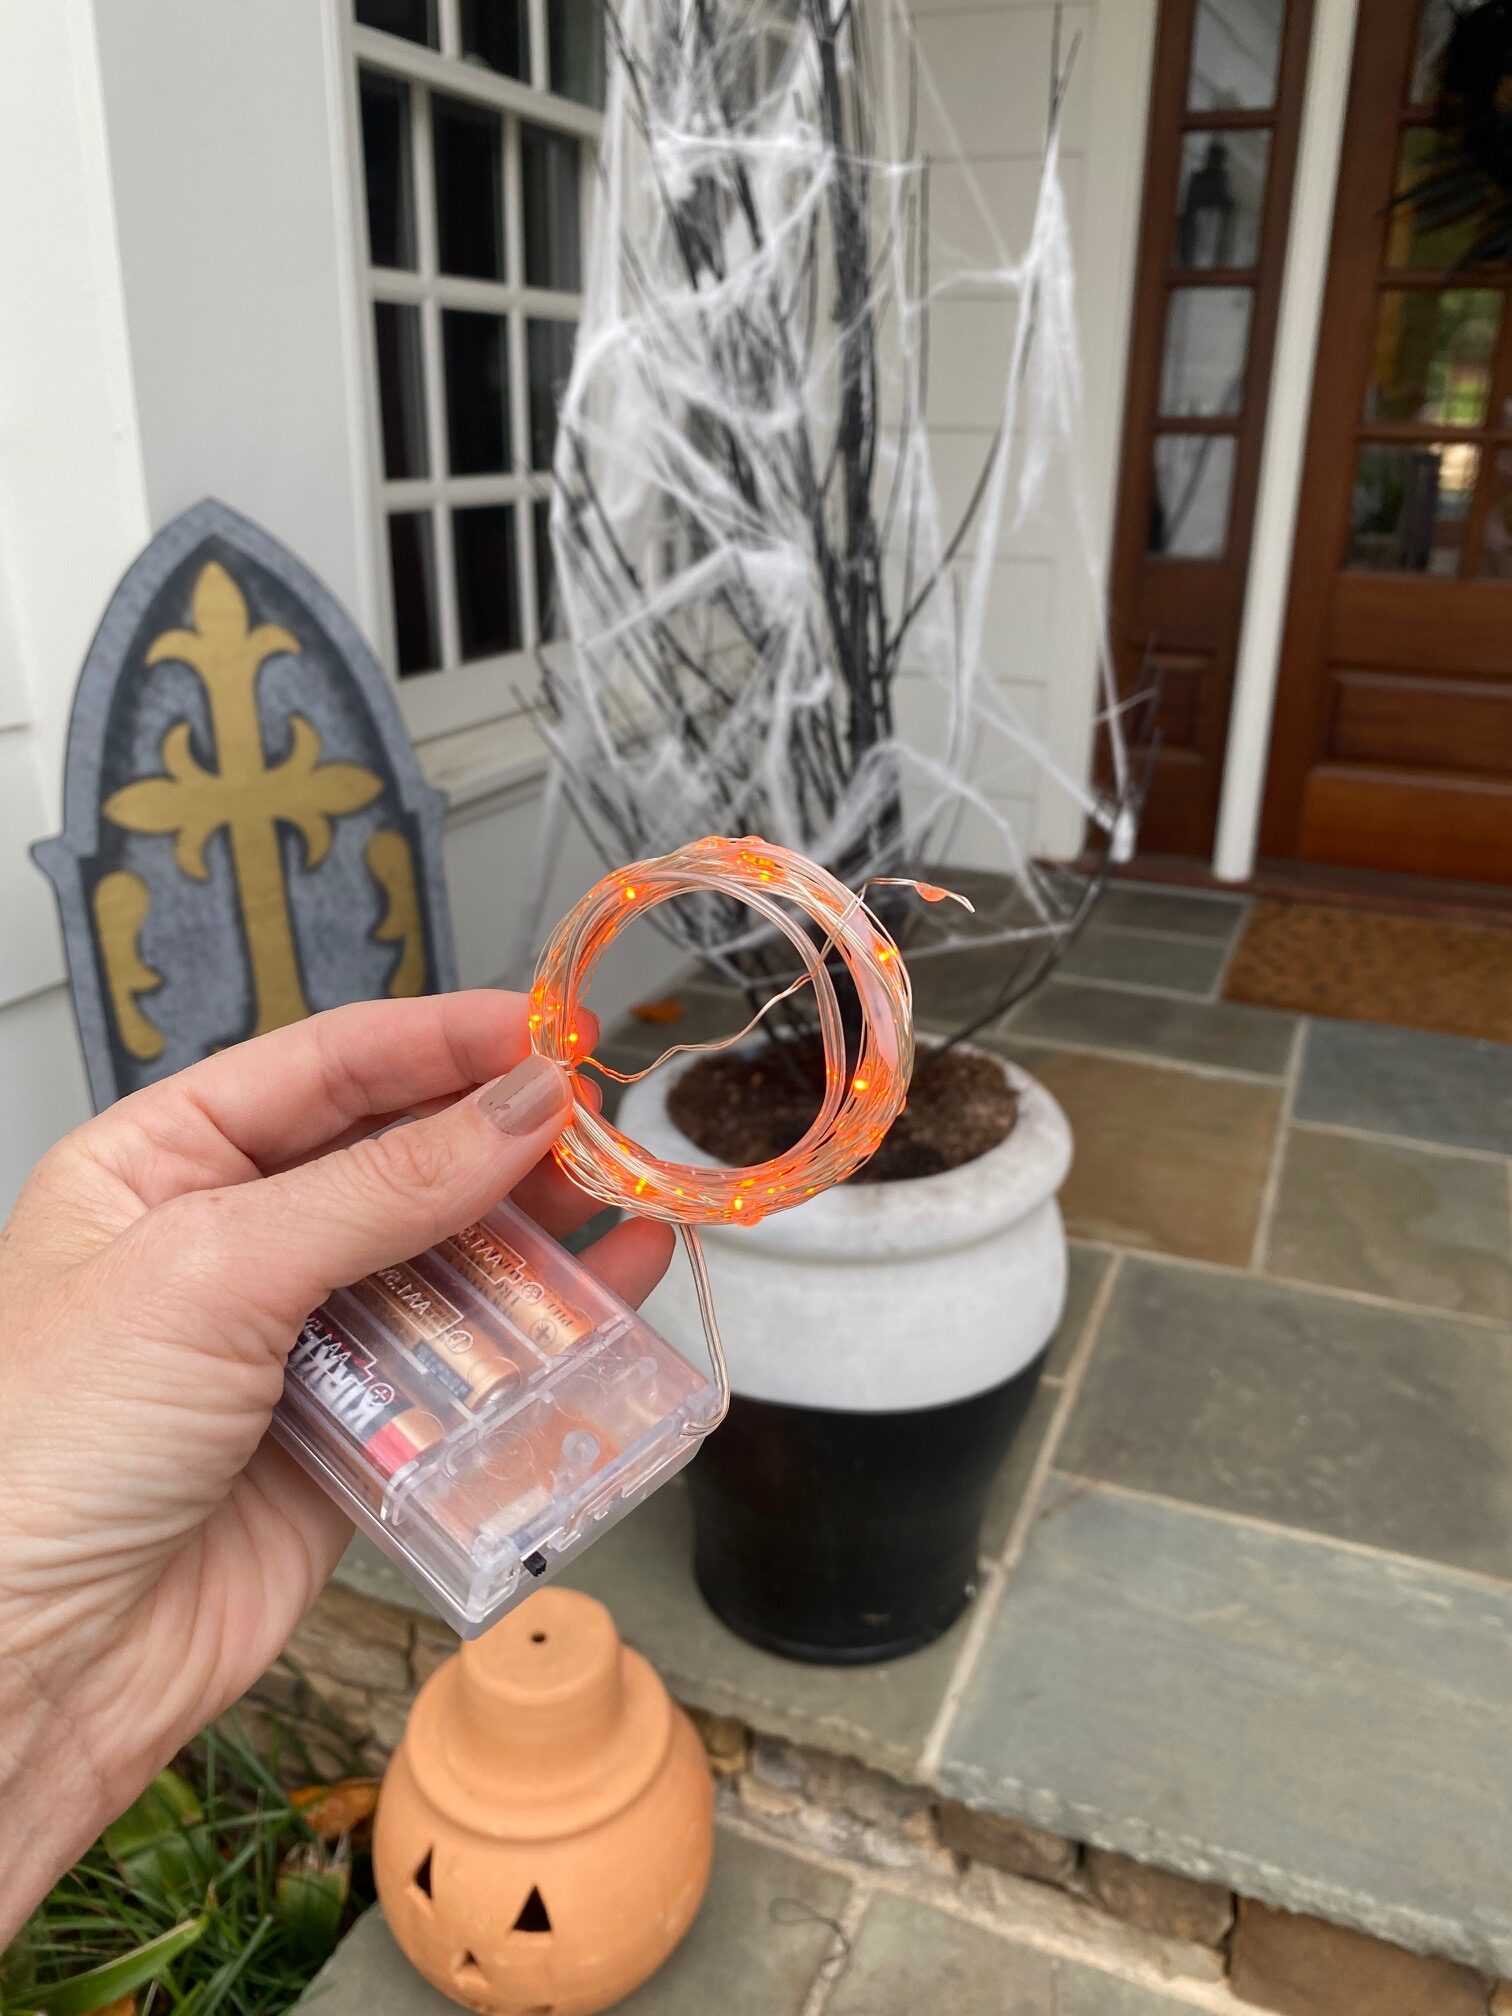
STEP FOUR: ADD LIGHTS
Next- I added some battery operated orange fairy lights. I found a pair of battery operated orange fairy lights for around $10 and then just added them to the branches. When I’m done with these Halloween planters for the year, I can always find another use for these in future projects so figured it was a worthwhile cost. SOURCE: ORANGE FAIRY LIGHTS

And then I waited for the sun to set and the porch to be haunted!


I love how these came together for around $10 (for the fairy lights) and that I can toss them when I am done so no need to store all year!

Happy Haunting!
xoxo-
Heather


Loved the part where you had the vision just and couldn’t walk away! I just had to smile. They look great!
Yes- once I have the vision I can’t stop! Ha!