Happy happy Friday friends! And Happy December!
Today is a Five-Minute Friday post coming at you “Blue Christmas” style. If you are just catching up, we are having a “Blue Christmas” here at Southern State of Mind this year. Today I am sharing how I turned a container of plain Dollar Tree ornaments into something more custom for my Blue Christmas with some super simple paint dipped ornaments. Along with my DIY Paint Dipped Ornament tutorial, I am collaborating with other 14 other bloggers to bring 15 different ornament ideas- links below. I am so excited to check everyone’s projects out!

DIY PAINT DIPPED ORNAMENT TUTORIAL
TOOLS & MATERIALS NEEDED FOR THIS DIY PAINT DIPPED ORNAMENT PROJECT:
- Ornament (I found this entire tube at the Dollar Tree)
- Ornament Hooks
- Paint for Dipping (I used navy but any color for your home will work)
STEPS TO FOLLOW FOR THIS DIY PAINT DIPPED ORNAMENT PROJECT:
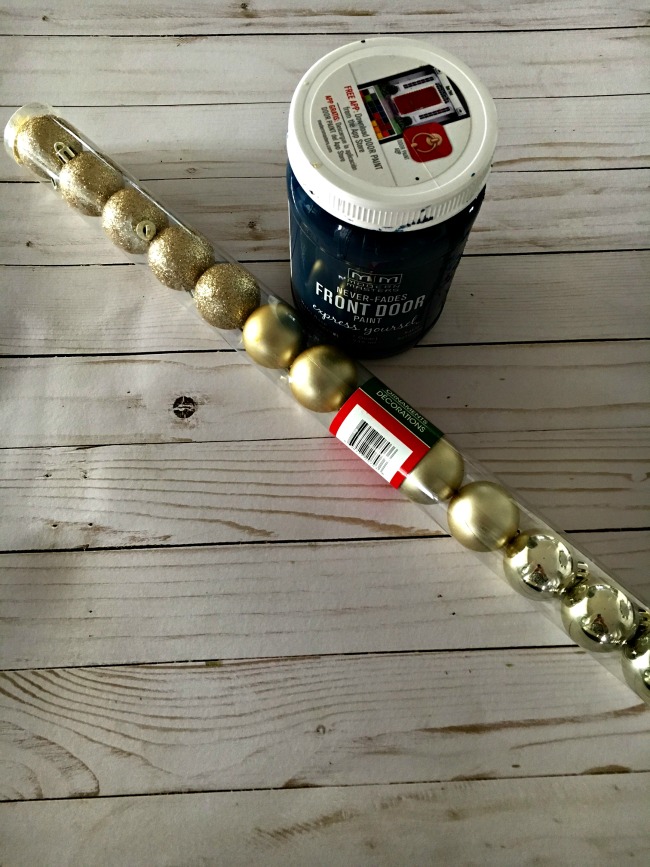
STEP 1:
Collect your supplies. Here you can see this tube of ornaments I picked up at the Dollar Tree and some navy blue paint I had on hand. Any paint is fine as long as the width of the opening is large enough to dip the ornaments.
STEP 2:
Add ornament hooks to each ornament. This is necessary for the dipping and drying process.

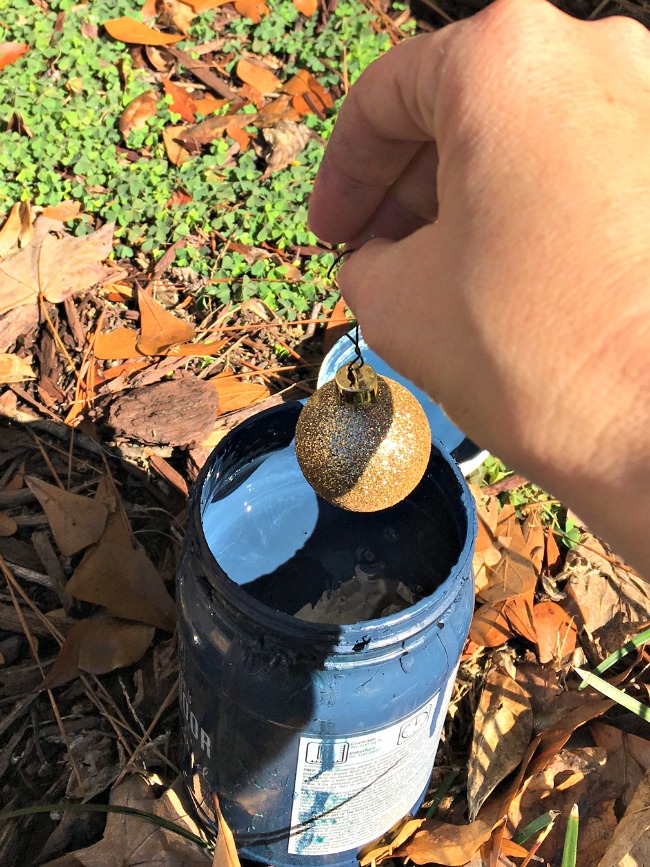
STEP 3:
Dip the ornament into the paint.
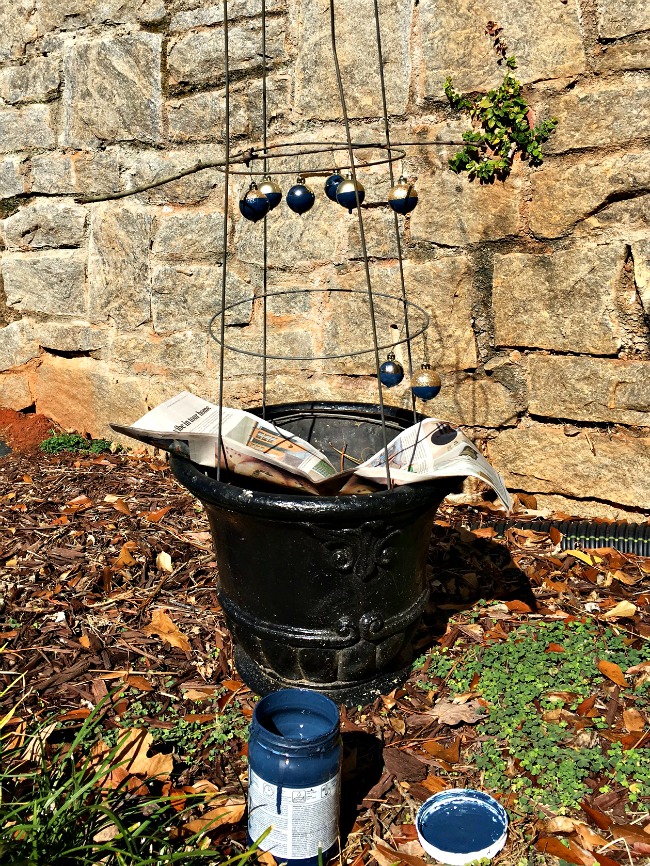
STEP 4:
Set the dipped ornament to dry. Now, this is honestly the trickiest part. And kind of messy. Take my advice and do this over grass. (not that I would know because I have blue paint drips on my driveway) I used a tomato cage to hang them to dry. Be ready for a lot of paint to drip off. Good thing my neighbors know I am a blogger because otherwise this tomato cage in my yard with random ornaments would just be suspicious.
STEP 5:
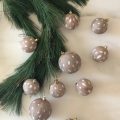
Let them dry overnight. There is lots of paint so they take awhile. When they are dry, you are ready to hang them on the tree!

Such a fun way to turn cheap Dollar Tree ornaments into something more custom and modern to coordinate with any look. Of course, they are perfect for my Blue Christmas!

For more ornament inspiration, be sure to check out the links below.

1. This Is Our Bliss // 2. The Striped House // 3. Up To Date Interiors //
4. Southern State Of Mind // 5. Maggie Overby Studios // 6. Casa Watkins //
7. Domicile 37 // 8. Two Thirty Five Designs // 9. PMQ for two //
10. The Gathered Home // 11. Bright Green Door // 12. Cassie Bustamante //
13. Blue i Style // 14. Monica Wants It // 15. Jennifer Dimples and Tangles
xoxo-
Heather


Such an easy project. I love the results.
These are so much fun and what a great way to update older (or cheap) ornaments!! I love making over a dollar store finds. 😉 xoxo
i love how these turned out and they’re in my favorite colors, too! i love how the glitter ones look especially!
These are great fun, and such a simple idea! Super budget friendly too! Great colour choices.
I love paint-dipped anything! The navy was a great choice with the gold – beautiful color combo!
I love that you actually dipped them! I’ve “dipped” many items by just taping them off, but I love the drippy “dipped” look.
Yes, I had never actually tried the dipping, but it was so fun! Thanks!
I love a good color blocking project!!! This is perfect for anyone who is looking for a simple holiday DIY, thanks for sharing.
Brilliant. Beautiful.